Crafting
Guide to Workbenches and Crafting Progression in Rust
Workbench Level 1, 2, and 3 costs, what each tier unlocks, priority blueprints, and the optimal progression path.
Workbench Level 1, 2, and 3 costs, what each tier unlocks, priority blueprints, and the optimal progression path.
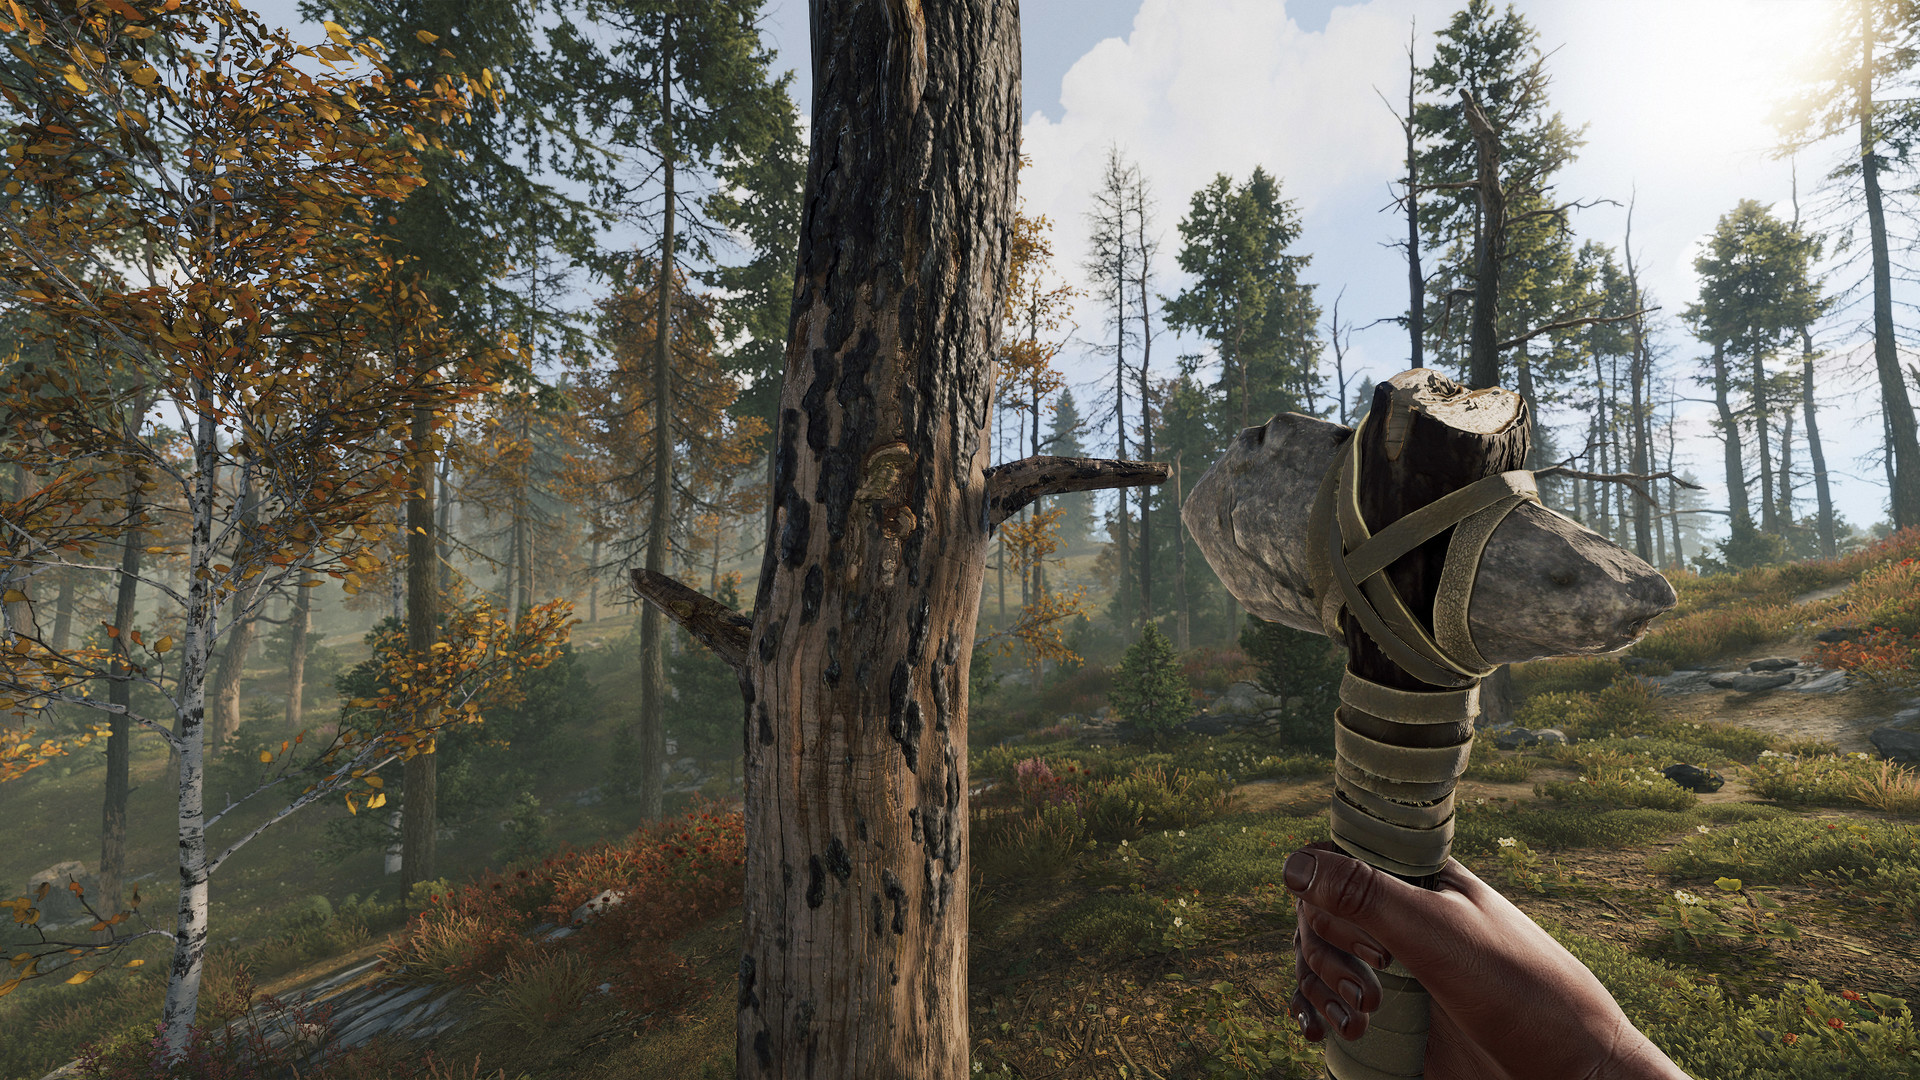
Workbenches are the gatekeepers of progression in Rust. Without one, you are stuck with primitive gear. Each tier unlocks a new level of items and the difference between tiers is significant. Securing a workbench early determines your wipe trajectory.
Cost to craft: 500 wood, 100 metal fragments, 50 scrap. This is your first progression milestone. Getting a Level 1 workbench down in the first hour puts you ahead of most players on wipe day. These resources are easily gathered in the first 30 minutes if you know where to look.
What it unlocks: Basic weapons such as the revolver, waterpipe shotgun, and double barrel shotgun, clothing and light armor, basic building components, traps, electrical basics, code locks, and the small furnace. The total scrap cost to unlock all Tier 1 blueprints through the tech tree is approximately 4,765 scrap. You do not need all of them.
Priority unlocks at Tier 1: Code lock (essential for base security), medical syringe (critical for survival), and whatever weapon you plan to roam with. Tier 1 is where you spend the least time if you are efficient. Move to Tier 2 as fast as possible. Do not waste scrap on low-priority items like decorative blueprints.
Crafting speed at Tier 1: Items craft at standard speed. This is your baseline. Higher tiers will craft these items faster, but Tier 1 is serviceable early-game.
Cost to craft: 500 metal fragments, 20 high-quality metal, 250 scrap. The jump to Tier 2 is where the game opens up. Tier 2 weapons and armor are competitive in most fights throughout a wipe. This workbench is your gateway to mid-game viability.
What it unlocks: The SAR, Thompson, custom SMG, pump shotgun, Python revolver, roadsign armor, garage door, auto turret, large furnace, and many more mid-game essentials. Total scrap to unlock everything: approximately 11,790 scrap, the most expensive tier overall. You will never unlock everything, so prioritize ruthlessly.
Priority unlocks at Tier 2: SAR (best value rifle), garage door (essential for base), roadsign armor (best mid-game protection), auto turret (base defense). Many experienced players consider Tier 2 the sweet spot of progression. The SAR with roadsign armor competes with Tier 3 gear in the right hands and is cheap enough to replace if lost. Focus here as long as possible before investing in Tier 3.
Crafting speed at Tier 2: Tier 2 benches craft Tier 1 items 50 percent faster. A revolver that took 10 seconds at Tier 1 now takes 5 seconds. This speed benefit compounds over hours of gameplay. Tier 1 and Tier 2 items benefit from this bonus.
Cost to craft: 1,000 metal fragments, 100 high-quality metal, 500 scrap. Tier 3 is end-game. Steep cost and the items it unlocks are the most powerful and most expensive in the game. The resource requirement is significant; this should only be built when your base is secure.
What it unlocks: The AK-47, LR-300, MP5, bolt-action rifle, L96, metal armor, C4, rockets, rocket launcher, and all other end-game weapons and explosives. Total scrap to unlock everything: approximately 6,225 scrap. Tier 3 has the fewest items but the most powerful ones.
Priority unlocks at Tier 3: AK-47 (PvP standard), C4 or rockets (raiding), metal chest plate and facemask (best armor), MP5 (best SMG). Solo players typically reach Tier 3 mid-to-late wipe. Large groups can get there within a few hours. Every large raid and competitive fight requires Tier 3 gear.
Crafting speed at Tier 3: Tier 3 benches craft Tier 1 items 75 percent faster and Tier 2 items 50 percent faster. A revolver now takes 2.5 seconds. This speed bonus makes Tier 3 benches extremely valuable for bulk crafting. Ammo production is significantly faster.
Higher-tier benches craft items from lower tiers much faster. A Tier 2 bench crafts Tier 1 items 50 percent faster than Tier 1 benches. A Tier 3 bench crafts Tier 1 items 75 percent faster and Tier 2 items 50 percent faster. This speed difference compounds with bulk crafting. If you craft 1000 rounds of ammunition, the time difference between tiers is substantial.
Once you upgrade to a higher tier, dismantle your old bench to save space. All crafting should be done at the highest tier bench you have available. Never craft at lower tiers if higher tiers exist. The speed bonus justifies keeping your highest tier bench running constantly.
Understand that higher tiers are faster, not slower. Some players mistake cost for slowness. The opposite is true: expensive tiers craft faster.
The standard path on wipe day:
First hour: Gather resources, build a starter base, craft Workbench Level 1, research code lock and essential items. Get your first workbench functional before engaging other players. Code locks prevent immediate raids. Focus on protection first.
Hours 2 to 4: Farm scrap through road runs, monument loot, and recycling, then build Workbench Level 2. Run the road loop hitting barrels and recycling components at nearby monuments. Tier 2 is your major progression step. Do not skip this phase.
Hours 4 to 8: Research SAR, garage door, and roadsign armor, start running mid-tier monuments for red keycards. Roadsign armor with SAR makes you competitive in most fights. This phase is where wipes become enjoyable. You have viable gear.
Later in the wipe: Accumulate resources for Workbench Level 3 and begin raiding. Farm high-tier monuments like Launch Site (red cards) and Airfield. These monuments provide HQM and blueprints for Tier 3. Raiding becomes possible once you have Tier 3 weapons and explosives.
Teams can skip steps by sharing research. One player researches weapons, another researches armor, a third researches explosives. This parallelization gets full tech tree coverage in half the time. Assign roles based on player specialization.
Build multiple workbenches if your base is large. A team should have at least one bench of each tier, preferably two Tier 3 benches for redundancy. If one burns during a raid, you still have another. Workbenches are defensive investments.
Secure your benches behind multiple locked rooms. Tier 3 workbenches are raid targets. They are expensive to craft and provide the most useful items. A destroyed Tier 3 bench costs 1,000 metal frags + 100 HQM + 500 scrap to replace.
Do not place a Tier 3 workbench in a weak base. It is an expensive target. Make sure your base can protect the investment before you place it. The scrap cost of the bench itself is just the start: factor in the research costs on top. A fully researched Tier 3 can cost 50,000+ scrap in total investment.
Understand that workbenches are only one part of crafting. Learn about blueprints and scrap for efficient research paths. The repair bench extends weapon durability, saving crafting costs. The mixing table creates combat buffs essential for raids. Together, these systems determine your power level.
Monument farming strategy depends on your workbench level. See Launch Site for Tier 3 farming and Outpost for general scrap routes. Efficient runners farm 500+ scrap per hour once Tier 2 is unlocked, accelerating Tier 3 progression significantly.
Weapon progression follows workbench tiers. Check our complete weapons guide for which weapons are available at each tier. Early weapons at Tier 1, mid-game workhorses at Tier 2, competitive late-game gear at Tier 3. Plan your weapon loadout around available tiers.