Building
Principles of Building
Soft side, hard side, honeycomb, and the decisions that determine whether your base survives a raid.
Soft side, hard side, honeycomb, and the decisions that determine whether your base survives a raid.
Building in Rust is about making strategic decisions, not just placing components. This guide covers the fundamental concepts that separate bases that hold raids from bases that fall quickly.
Every wall, door, and floor has two faces with different health values. The hard side faces outward toward raiders and requires explosives to break through. The soft side faces inward toward your base and can be destroyed with pickaxes and hatchets for a fraction of the cost.
A stone wall has 500 health on the hard side. The soft side has only 250 effective health, meaning a raider can damage it twice as fast with melee tools. Sheet metal and armoured tiers have the same health from both sides, but stone and wood are vulnerable from behind.
If you place a wall backward with the soft side facing outward, raiders pickaxe through it instead of using explosives. Check every wall after placing it. You have 10 minutes to rotate doors and walls with a hammer. After that, you must destroy and replace them.
When building your base perimeter, the hard side must always face outward. Walk around the outside of your base when finished and visually verify every wall shows the correct texture facing the outside world.
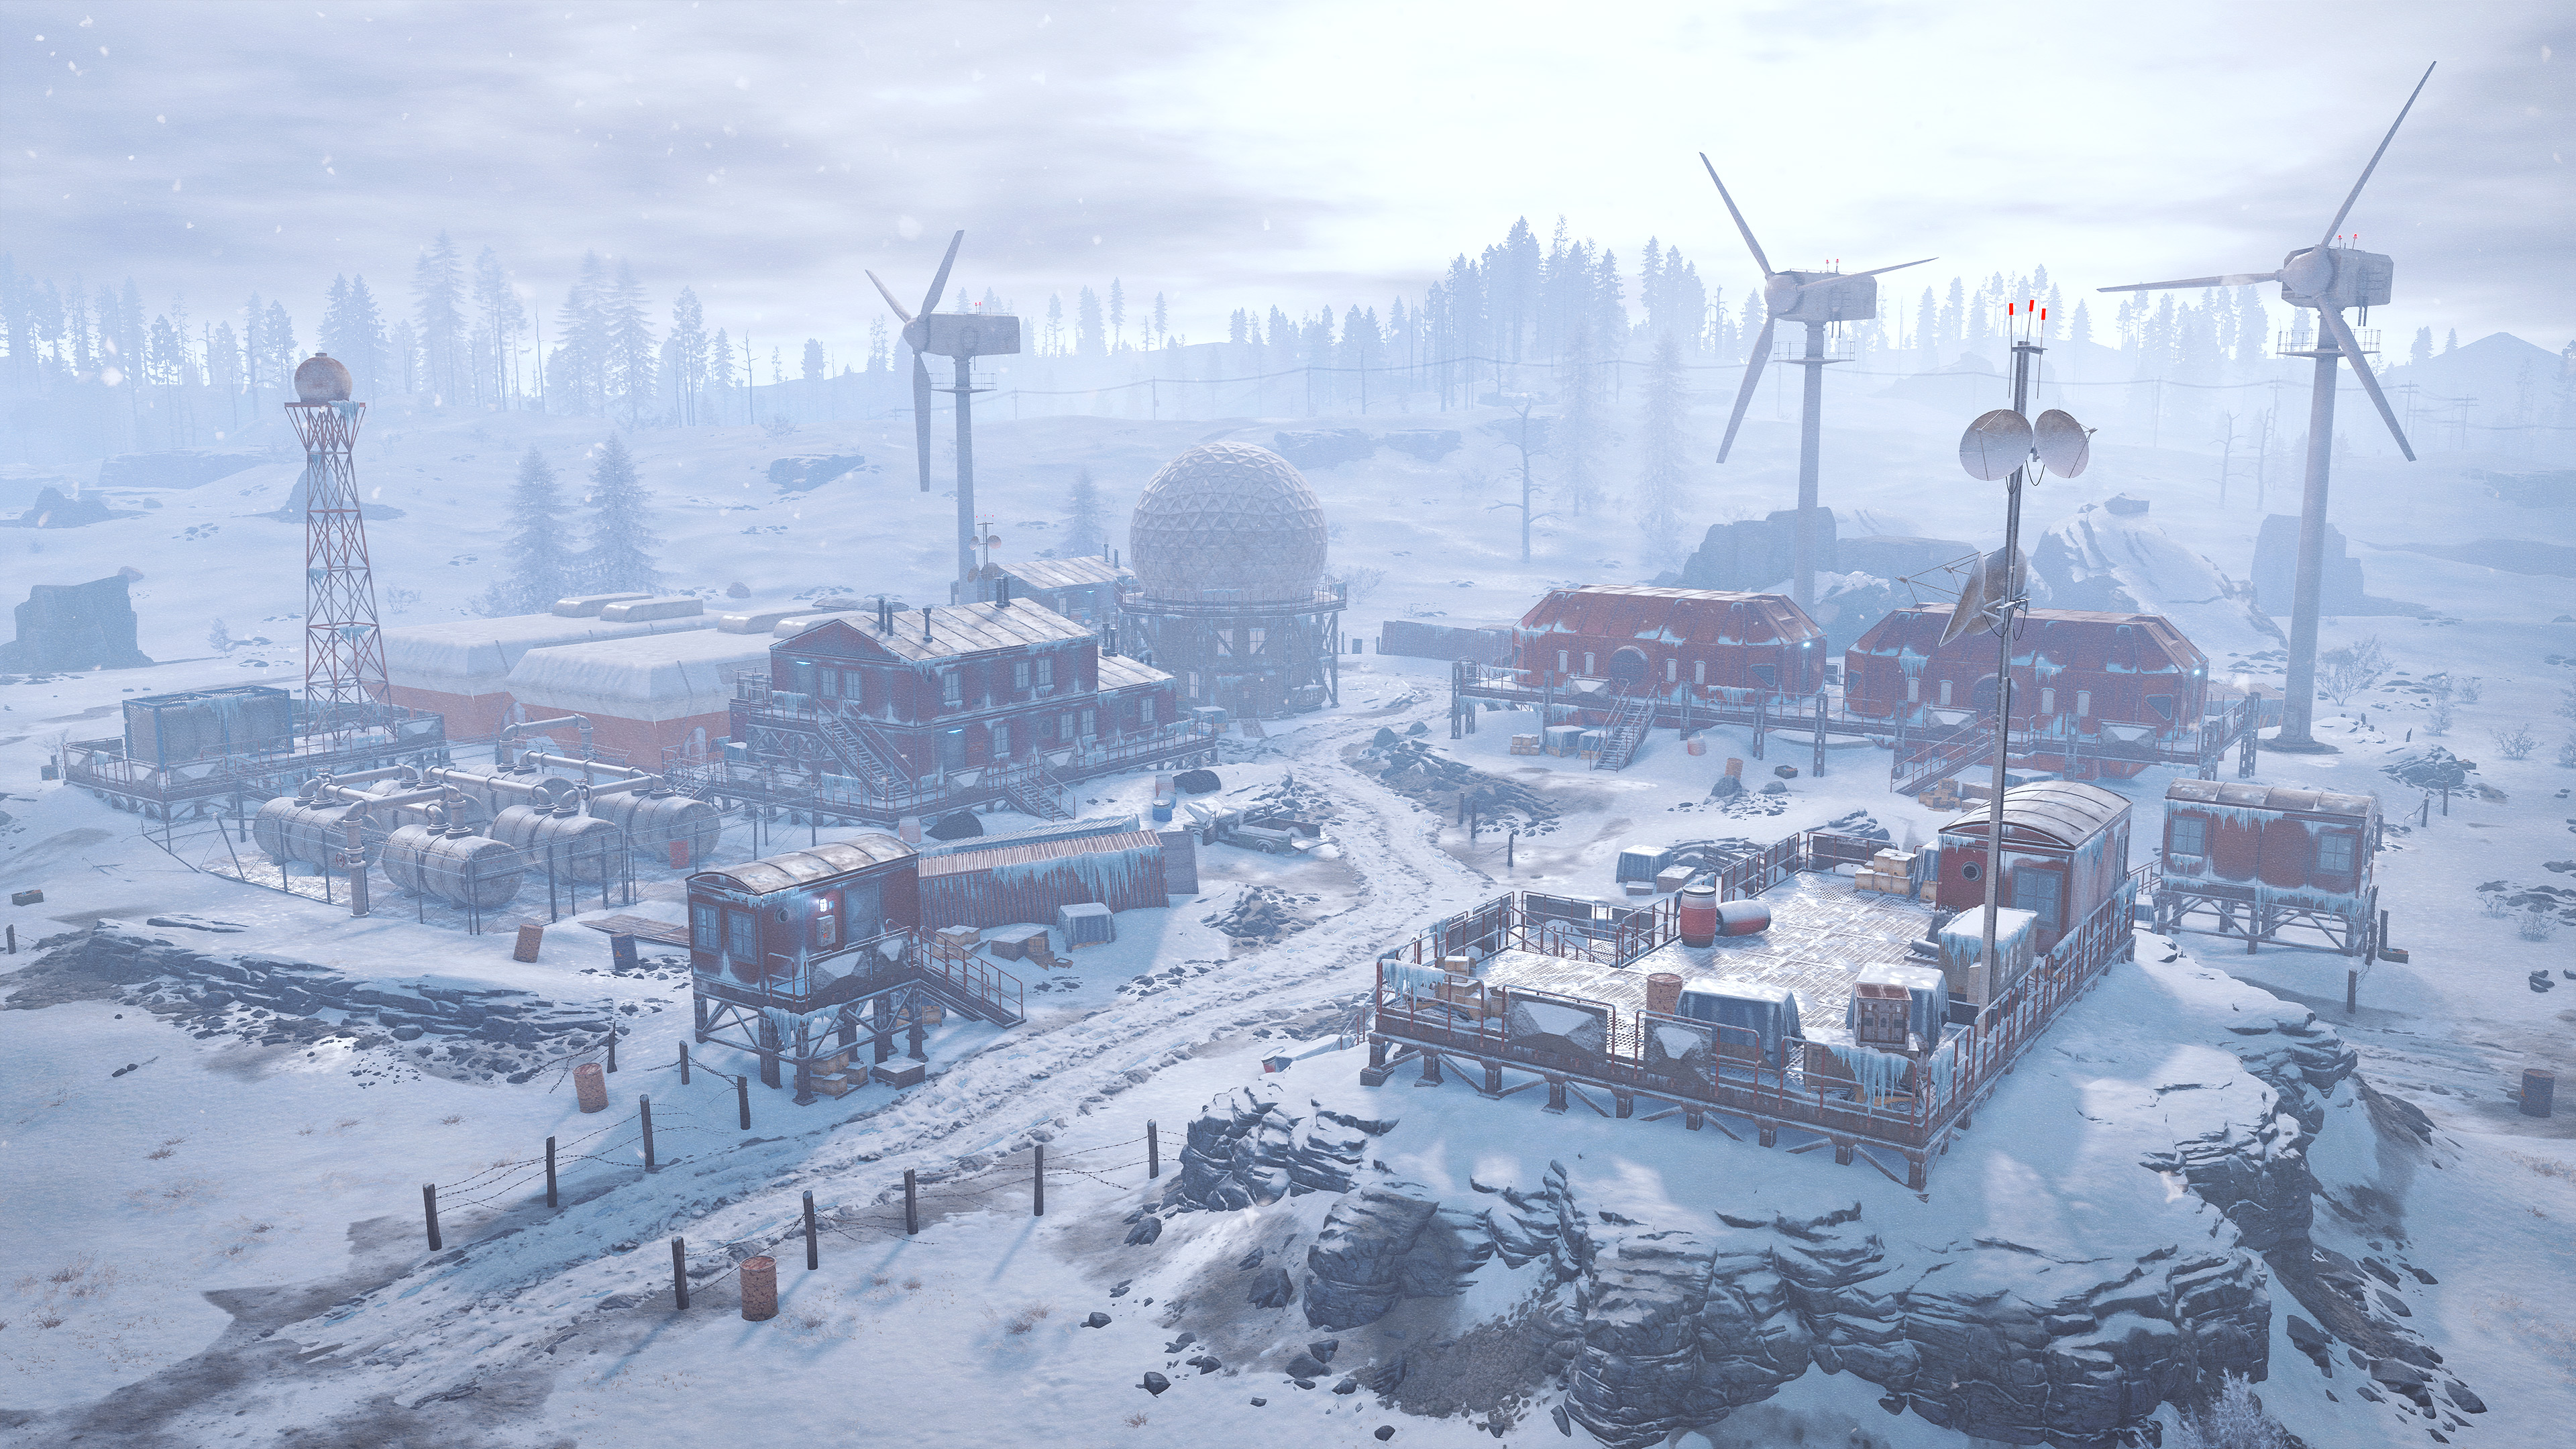
Honeycomb is the practice of building extra walls between the outside and your loot rooms. Instead of one wall separating outside from your valuables, you build 2-3 layers of empty buffer rooms that raiders must destroy before reaching anything. Satchels and other raiding tools cost raiders rockets and gunpowder to breach these layers, which are far more valuable than the materials you invest.
Each stone honeycomb wall costs raiders 10 satchels to breach. Each metal wall costs 23 satchels. Building a simple 2x2 base with one layer of honeycomb means an attacker must destroy at least 3 walls to reach your loot room. That is 30 satchels minimum at stone tier, before counting doors. A base without honeycomb can be cleaned out with 10 satchels.
Honeycomb costs you upkeep materials, but those are renewable. The investment protects you against raids while keeping your base sustainable to maintain.
Surround your base with triangle foundations on every side. Place walls on each triangle face. This creates a continuous buffer without taking up much space. Link it back to your main entrance through one controlled doorway.
Your tool cupboard is the single most critical item in your base. If raiders reach it and destroy it, they gain building privilege and can repair your walls while breaking in, essentially turning your own base against you. The TC must be behind the maximum number of walls possible.
Never place your TC against an outer wall. A single C4 shot through one wall and they own your base. Push it as deep as your layout allows. In a 2x2, place it in the corner furthest from your entrance. In a 3x3, use the center square. In larger compounds, dedicate an entire room to the TC with metal or armoured walls on all sides.
The TC controls a limited radius from its placement point. In a very large base, test coverage by walking the perimeter and checking that your buildings fall within the radius. If you have external walls outside the radius, add a second TC to protect them. See the tool cupboard guide for detailed placement strategies and upkeep costs.
Every building piece starts as twig when placed. You select piece types using the building plan: foundation, wall, floor, stairs, roof. Rotate your pieces before placing them. It is far cheaper to get the placement right on the first try than to destroy and rebuild.
Snap points determine where pieces attach. Foundations snap to other foundations. Walls snap to foundation edges and floors. Floors snap to wall tops. Understanding these snap points is the difference between a clean build and a tangled mess that costs twice the materials to fix.
Build the complete twig structure first, then upgrade everything to stone. This lets you test your layout and find problems before spending resources on upgrades. See the building tiers guide for upgrade order and costs.
Every door you skip is an invitation. Your base needs multiple doors blocking the path to your loot. An airlock at the entrance keeps door campers from rushing straight into your base. Internal doors segment your base so a raider who gets through the entrance still cannot access all rooms.
A door costs significantly less to build and upgrade than a wall, but it also costs significantly less for a raider to break through. So use doors to control traffic and slow attacks, not as your primary defense. Walls are your main protection. See the doors and locks guide for door placement and airlock construction.
Your tool cupboard drains resources daily to prevent decay. The larger your base, the higher the upkeep drain. This is the hard constraint on base size. You cannot build a base larger than your resource farming can sustain.
A small wood base costs roughly 500 wood per day. A large stone base costs 2,500 to 3,000 stone daily. A base with metal walls costs significantly more in metal fragments. Before committing to a huge build, calculate whether you can farm enough resources to maintain it. A 50-foundation base that decays because you cannot maintain the upkeep is worthless. Build for what you can sustain, not for what you can build once. See the upkeep guide for detailed calculations.
Sketch your base layout on paper or use a tool like Fortify before placing foundations. Fixing building mistakes in Rust is expensive and sometimes impossible. Get the design right first, then build.
A defended base has multiple obstacles between raiders and your loot. The outer wall is just the first one. Behind it should be honeycomb, then an airlock, then internal walls, then your TC room, then your loot room. Each layer forces more explosives or time spent.
Vertical building stacks rooms on top of each other, making it harder for raiders to navigate. Shoot floors and windows let you defend from above. Multiple small rooms force raiders to make choices about where to break through. See the advanced building guide for techniques like honeycombing, bunkers, and shoot floors to understand comprehensive raid defense.