Monuments
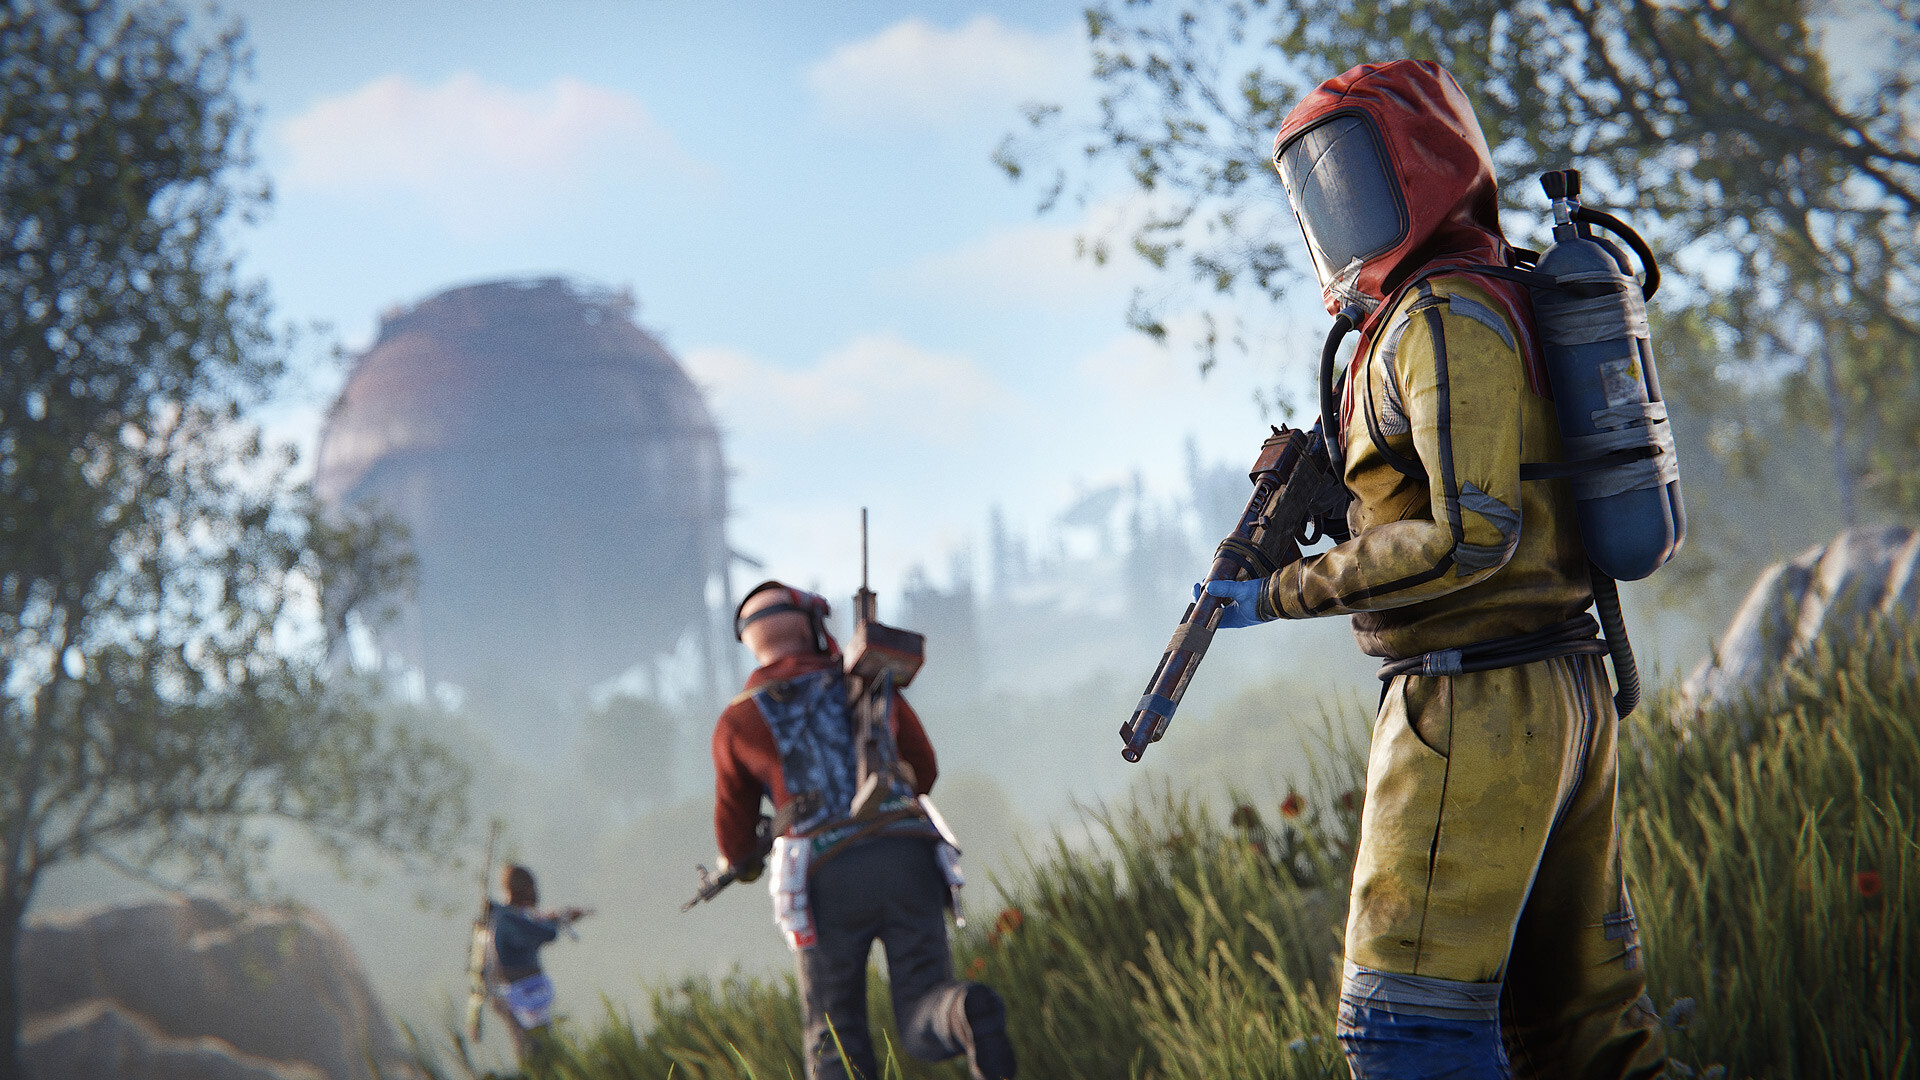
The Dome
Tier 1 parkour monument. Climb to the top for crates. Early-game farming location.
Tier 1 parkour monument. Climb to the top for crates. Early-game farming location.
The Dome is a Tier 1 monument with no radiation, no locked puzzles, and no scientists. It spawns 18 barrels and yields approximately 138 scrap, making it an accessible early-game farming location. The run takes 5-10 minutes from start to finish. This monument requires basic climbing ability and awareness of fall damage.
No keycards, no fuses, no rad protection required. A medical kit or bandages helps mitigate fall damage during climbing. Basic weapons for self-defense are recommended on active servers, but not required for monument completion.
Total barrels: 18. Basic crates: 14. Military crates: 4. Elite crates: 0. Locked crates: 0. All loot yields approximately 138 scrap when recycled. The military crates at the summit contain the most valuable items. Ground level yields basic supplies and components useful for early progression.
The Dome consists of a central dome-shaped structure surrounded by ground-level buildings at its base. Barrels and basic crates distribute across the perimeter at ground level, while the most valuable military crates sit at the top of the dome. The structure offers multiple climbing paths up its exterior, each with different difficulty levels. Ground level is entirely accessible without climbing, but the peak rewards require parkour skill.
Collect all ground-level loot first, then begin your ascent. Identify your climbing route by examining the dome's exterior ledges and platforms. The main path spirals upward around the structure, offering natural handholds and safe landing spots. Jump deliberately from platform to platform, testing each landing before committing your full weight. The climb takes 2-3 minutes depending on your skill level and route choice. Once at the peak, collect the final military crates and remaining barrels before descending. The route is relatively straightforward once you memorize the key transition points between ledge clusters.
Fall damage is the primary hazard at The Dome. Move deliberately, jump only when necessary, and never sprint on narrow ledges. Falling and losing items is worse than making multiple trips. Always maintain at least half your inventory space free so you don't miss valuable loot due to full inventory. Carry bandages and medical kits to recover from minor falls. Most falls are survivable if you have full health and adequate supplies. The exposed nature of the climb means you must be constantly aware of your footing and body position relative to edges.
Successful climbers memorize three key ledges that form mental checkpoints during ascent. These are the most reliable landing platforms without visible damage or instability. Pre-jump positions matter significantly, so position your character's feet near the edge before jumping to maximize reach. Walking backward down descents provides better visibility of landing zones than turning and sprinting. Use the crouch-jump technique to gain height on steeper sections. Practice these mechanics during off-hours when the monument is quiet to build muscle memory for speed runs.
The Dome has no recycler. Transport your loot to nearby monuments like Satellite Dish or Sewer Branch, both of which have recyclers. Plan your return route to avoid hostile players during transport.
The Dome is ideal during your first 30 minutes of wipe as a rapid early-game farming run. Return frequently if undisturbed by other players. It remains profitable throughout Tier 1 progression, especially when combined with runs to nearby monuments. The lack of key requirements means you can farm it whenever you need quick scrap.
The Dome is open and exposed, making you visible to hostile players from distance. The climbing section leaves you defenseless against gunfire. If you notice raider activity or aggressive players, leave immediately and return later. Most players farming together share the space peacefully. Scout the perimeter before beginning your run and listen for gunfire or voices. The monument is not worth dying over.